Saturday, September 24, 2016

31 Days of Halloween - Day 4 - Cookie Cutter Card

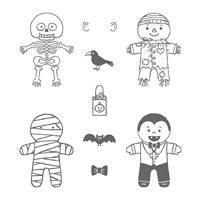
Day 4... I just LOVE this new cookie cutter bundle! And the Halloween cookie cutter stamp set is the bees knees. It is so stinkin cute I just had to use these sweeties on this card.


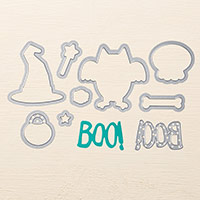
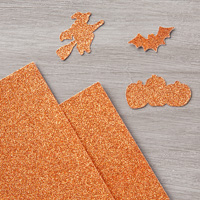
Isn't that dracula just the sweetest? I paired it with the Boo For You framelits and the new pumpkin pie glimmer paper. It's fab.

You can watch the video here.

Hope everyone is enjoying their Saturday. I can't wait to get home and watch some football...


Until tomorrow...

Jen


Supplies:

Cookie Cutter Halloween Clear-Mount Stamp Set    Boo to You Framelits Dies by Stampin' Up!    Pumpkin Pie Glimmer Paper
Cookie Cutter Halloween                   Boo To You Framelits               Pumpkin Pie Glimmer Paper

Tuxedo Black Memento Ink Pad    Whisper White Craft Stampin' PadWhisper White 8-1/2" x 11" Cardstock
  Memento Tuxedo Black Ink Pad     Whisper White Ink Pad               Whisper White Card Stock

Basic Black 8-1/2" x 11" CardstockBasic Gray 8-1/2" x 11" CardstockReal Red 8-1/2" x 11" Cardstock

Basic Black Card Stock                  Basic Gray Card Stock                Real Red Card Stock

Real Red & Crumb Cake Stampin' Write Markers   Basic Black Stampin' Write MarkerNeutrals Stampin' Write Markers
        Real Red Marker                            Basic Black Marker           Neutrals Stampin Write Markers

SNAIL Adhesive  Stampin' DimensionalsBlushing Bride Classic Stampin' Pad
           Snail Adhesive                        Stampin' Dimensionals            Blushing Bride Ink Pad

Smoky Slate Classic Stampin' Pad  Blender Pens
        Smoky Slate Ink Pad                       Blender Pen

31 Days of Halloween - Day 3 - Sheltering Tree Card

Day 3... Sigh... Still fall...

Here is the card that I made for day 3. It is a simple card that doesn't have to be used for Halloween. It could be used for a masculine birthday, or get well. Anything, really. That's why I left it with no sentiment. Take a a gander and see what you think


I used the stamp set Sheltering tree for the main image. It's a very simple, yet effective card.

You can watch the video on my youtube channel here.

Until tomorrow.....

Jen

Supplies:

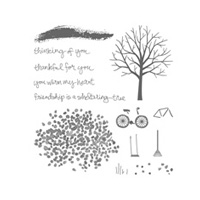
Sheltering Tree Photopolymer Stamp Set Whisper White 8-1/2" x 11" Cardstock2" (5.1 cm) Circle Punch
Sheltering Tree Stamp Set             Whisper White Card Stock                2'' Circle Punch

Basic Gray 8-1/2" x 11" CardstockCrushed Curry 8-1/2" x 11" CardstockSmoky Slate 8-1/2" x 11" Cardstock
      Basic Gray Card Stock           Crushed Curry Card Stock           Smoky Slate Card Stock

Tuxedo Black Memento Ink Pad    Gold 1/4" (6.4 mm) Natural Trim     SNAIL Adhesive
      Memento Tuxedo Black Ink         Gold 1/4'' Natural Trim                           Snail Adhesive

Friday, September 23, 2016

31 Days of Halloween - Day 1 and 2 Bats and a card

Halloween????? Who is ready for 31 days of Halloween posts?

I AM!!!!

I am a bit late on blogging these, so the youtube videos have been up for a while. Whoops.

I'll start from the beginning and show the first and second videos together. Since they really go hand in hand.

Here is the first video: Make a bat from a butterfly

And using the bats from the first video, here is the card I made


And here is the link to that video: Here's the card!

Hope you all are enjoying the first few days of fall. I am wishing it were summer again already. Gasp. Summer is my favorite season! Maybe making all of these Halloween projects will get me in the fall mood!!

Until tomorrow....

Jen

Supply List:

       Basic Gray Archival Stampin’ Pad
        Gorgeous Grunge                             Mr. Funny Bones                     Basic Gray Archival Ink

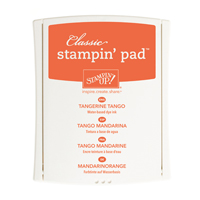
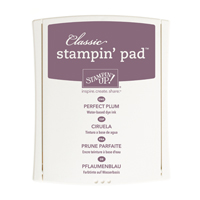
Tangerine Tango Classic Stampin' Pad       Perfect Plum Classic Stampin' Pad Tuxedo Black Memento Ink Pad
Tangerine Tango Classic Ink Pad       Perfect Plum Classic Ink Pad    Memento Tuxedo Black Ink Pad

Whisper White 8-1/2" x 11" Thick Cardstock       Basic Black 8-1/2" x 11" Cardstock Basic Black Stampin' Write Marker

Thick Whisper White Card Stock        Basic Black Card Stock      Basic Black Stampin Write Marker

Elegant Butterfly Punch 1" (2.5 cm) Circle Punch Stampin' Dimensionals
Elegant Butterfly Punch                        1'' Circle Punch                       Stampin Dimensionals

Sunday, June 3, 2012


Ok, I am sooo over this album already!!! Ok, maybe just for this weekend. :-) Pages 7,8 and 9 are finished. This page is titled Precioso... or Precious. I used a montage of supplies to create this page and it would take me forever to list all of them. Overall, I am pleased with the outcome.


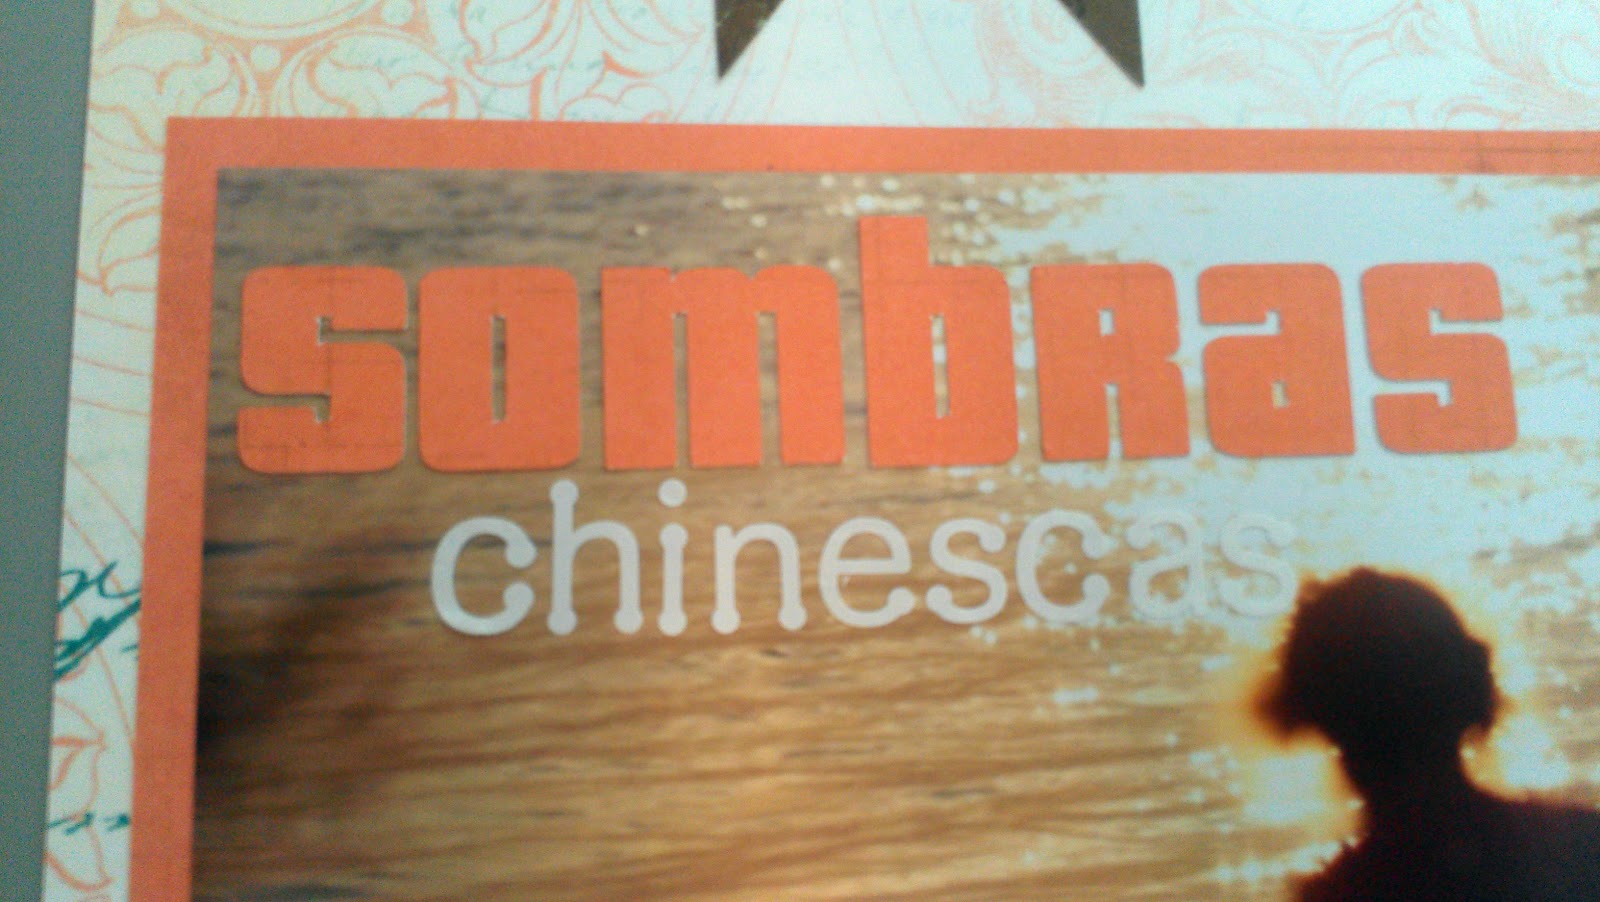
I think this is my favorite page. This was a sketch challenge from two peas this week. Thanks Lauren for the picture selection! I used the Bo Bunny Gabrielle 12x12 paper collection. The title is "Sombras Chinescas", which roughly translated means shadow play.


I used my sewing machine to stitch around each of the square pieces of patterened paper. It was extremely time consuming, but I think the end result was so worth it!


I used my silhouette to cut the word "sombras" out of the peach patterned paper from the pack. I used The Paper Studio alphabet stickers to spell the word "chinescas".


This page is "Viva una vida sencilla" - meaning live the simple life. I used some old SU Designer paper that was probably retired in 2007. And some Heidi Grace paper from 2006. Yeah, it's been hanging around a while. The star border is from a hobby lobby calendar kit I bought last year. I believe they were from the October sticker page. The paper border at the bottom was punched using the EK Success Lattice Chain Border Punch. To create the word "viva, I used the negative letters from the Heidi Grace letter page as a stencil. I traced them onto purple paper and cut them out. I love the size, but they were all different colors and patterns. I didn't like the look of the variety, so I made them a little more uniform by cutting them from the same paper. The sticker letters are from The Paper Studio.

TFL!

Now, off to watch Nascar!!!

Saturday, June 2, 2012

Page 6!


I stepped outside of my box on this one. I am typically a one photo per page girl. And most of my photos are 5x7 or 8 1/2x11. But for this LO, I was inspired by Madeline at two peas and her "Wolf River" Page. So I took her sketch and made this. The paper is from Echo Park Times and Seasons 6x6 paper pack. The title says Daddy y yo, meaning daddy and I. The sticker says "Juntos para siempre". It is another from the Karen Foster spanish stickers.

TFL!
Pages 4 and 5 are finished! I am really hoping to get the album finished before Bela meets Rikky in MD in July. At this pace, I should have it done by 2015. I have 38 pictures left. Buwahahahaha.


This page I kept pretty simple. The title says "that tongue" in spanish. I used a paper from the MME Lost and Found 12x12 pack for the base and the accent piece behind the photos. All of the die cuts are from Crate Paper Emma's Shoppe Collection. The word "esa" is an OLD OLD OLD alphabet from Basic Grey monogram set in Urban Couture. I inked the edges with Walnut Stain Distress Ink. The word "lengua" is from the Bo Bunny Combo Stickers Sheet in the Timepiece Collection.


This page was a pain!!!! Although I love the photo, I had such a hard time getting it to look "right" to me. I suppose that's the OCD coming out in me. The base paper is from the Basic Grey Urban Couture collection from forever ago. The border strip is a piece of lavender cardstock that I stamped and embossed with clear embossing powder. I used the Martha Stewart Doily Lace Edge punch to create the border. The darker strip was stamped with a small dot stamp and embossed with clear embossing powder so I could use the emboss resiste technique with Dusty Concord Distress Ink. Most of the embellishments were just paper and punches. The ribbon flower at the top was a 2'' gluber covered in Lilac seam binding. The sticker center is another of the Karen Foster spanish stickers. The title says "Diversion con burbujas" Meaning fun with bubbles. The flower and butterfly die cuts are from the K&CO Flora & Fauna Layered Accents. I am still not sure that I am in love with this LO, but I think it will do.

TFL!

Friday, June 1, 2012

Page 3!! Yay!


This was a fun page to make. I just took bits and pieces from my stash and threw them on the page. Where they landed, they stayed. (Well, pretty much. LOL) The butterflies and the title (Pintura Facial - Face Paint) Were cut from black cardstock with my silhouette. The paper is from Fancy Pants - Road Show 12x12 pack. I sewed the white piece down with my sewing machine. The rosette at the bottom was made with a scallop border punch and scored at every scallop. Used another Karen Foster sticker that says Te Amo! (I love you) for the center of the rosette. The tags and filmstrip are from basic grey.

TFL!!
Here is the second LO that I have made for Rikky's mom. I told myself that I was going to go in chronological order, but that doesn't seem to be working at the moment. Oh well, I can always arrange them in order when I assemble the album.


I realized last night that his mother doesn't speak English!! So all of these wonderful die cuts and silhouette files I have are useless for this album. So I have put all of my energy into creating my own custom Spanish embellishments. Not sure if any of you have tried scrapbooking in Spanish, but there's not much out there. LOL. This sticker sheet was from one pack that I found at my LSS. It is by Karen Foster and I bought it YEARS ago. I knew I held on to it for some reason. (Other than me being a scrapbook hoarder). The paper is from The Paper Studio Family Heirloom 12x12 paper pack. The flowers are Color Me Crazy Fabric and Glitter Flowers in white. I sprayed them with SU! Regal Rose reinker and water in a mini mister. I used the Martha Stewart Doily Lace Edge Punch for the border on the patterned paper around the photo. Again, I have left room for him to journal on the right hand side. Also, choosing paper with lines on it for the background is becoming increasingly difficult. How many papers have lines or a linear pattern on them for journaling??? Not many in my stash at least. Guess I need to hit the stores running!

TFL!
I just recently got back from a trip to Maryland where I saw Bela's dad. He gave me about 50 photos that he had taken of he and Izabela and asked that I make a scrapbook for his mom. With him being a phenominal photographer, how could I say no??? LOL. So, over the next few weeks, I will be posting some of the LOs that I create for her album. Hope you enjoy!


This is one of my favorite photos in the stack of many! This is Rikky and Bela at the Alamo in Texas. When she would ask him to toss her in the air, she would say "Daddy....UPSIES!!!" I have left room on the left side for his journaling. I used my silhouette to cut the word upsies. The paper that I used was from The Paper Studio Hoot Hoot 12x12 paper stack. I fussy cut the flowers from a 12x12 page in that stack. The buttons were just some random ones from my stash. The border at the top was just a piece of the 12x12 paper that I punched with a heart border from The American Crafts Knock Outs Border Punch System. The borders around the photos were punched with the Martha Stewart Framed Dots Punch Around the Page Punch.

TFL